Matching Trencher Width and Depth to Modern Underground Infrastructure Projects
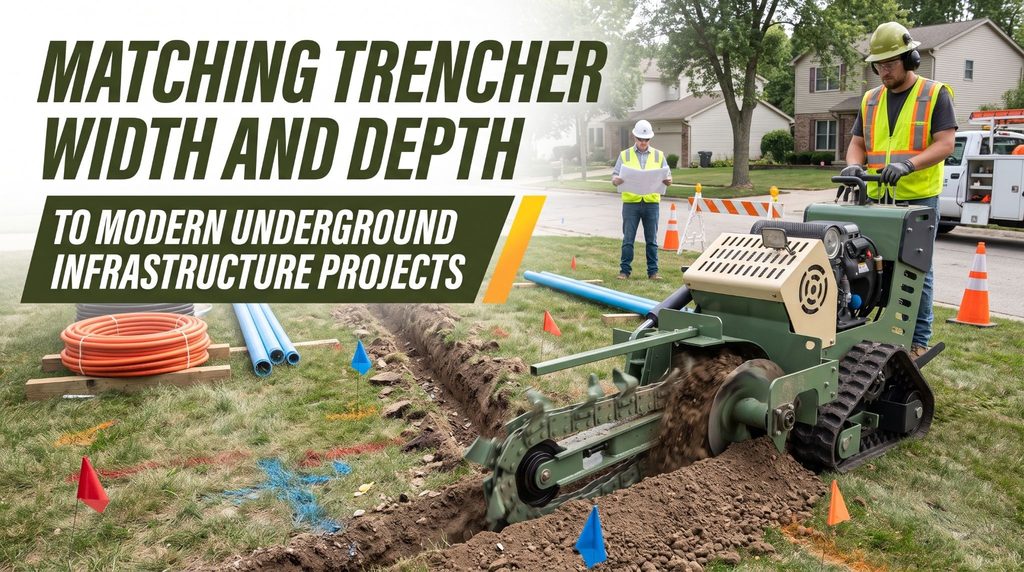
Accurate trench dimensions are essential for underground utility installations, where even a small measurement error can lead to failed inspections and costly rework. Water pipes, electrical conduits, irrigation systems, and communication cables each have specific requirements for burial depth, trench width, bedding, and separation. Meeting these dimensions from the start helps contractors avoid unnecessary excavation and project delays.
Trencher selection should be based on the required dimensions and the conditions of the worksite. Cutting width determines how much soil is removed, while digging depth must provide sufficient space for the utility, bedding material, and required cover. Soil type, underground obstacles, and the trencher’s operating capabilities also affect how accurately the machine can maintain the planned trench profile.
Successful installation begins with checking project drawings, local codes, utility specifications, and inspection requirements before excavation. Contractors should select a trencher capable of reaching the required width and depth, verify measurements during cutting, and maintain consistent alignment along the route. Accurate planning and regular checks help limit excess soil removal, reduce backfill needs, and keep underground utility projects on schedule.
Confirm Utility Installation Requirements
Every trench starts with a specification, not a machine. The project drawings, utility provider standards, and local codes define what the trench must achieve. Choosing a trencher before reviewing those documents often leads to a machine that cuts too narrow, too wide, or not deep enough.
Start with the project drawings and the utility provider’s specifications. Confirm the required depth of cover, trench width, bedding material, and backfill requirements for each line. Check the separation distances between utilities as well. Water and sewer lines often require set horizontal and vertical separation, and electrical and communication lines may have their own spacing rules when they share a trench. Note any clearance required from existing services, foundations, and property lines.
Requirements vary by utility type and location. Water lines usually need enough cover to stay below the local frost line. Electrical conduits and direct-burial cables follow minimum cover depths set by electrical codes and the serving utility. Irrigation laterals may sit shallow, while mainlines often run deeper. Fiber and communication conduits can range from shallow micro-trenches to standard depths, depending on the provider. When documents conflict or leave gaps, ask the engineer or utility for clarification in writing before work begins.
Key takeaway: Review drawings, utility standards, and local codes first, and confirm depth, width, bedding, and separation requirements in writing before selecting equipment.
Check Existing Underground Services
A trencher cuts fast and leaves little warning before it strikes something buried. Hitting a gas line, electrical cable, or fiber trunk can cause serious injury, outages, and costly repairs. Locating existing utilities before excavation is a legal requirement in most areas and a basic responsibility on every job.
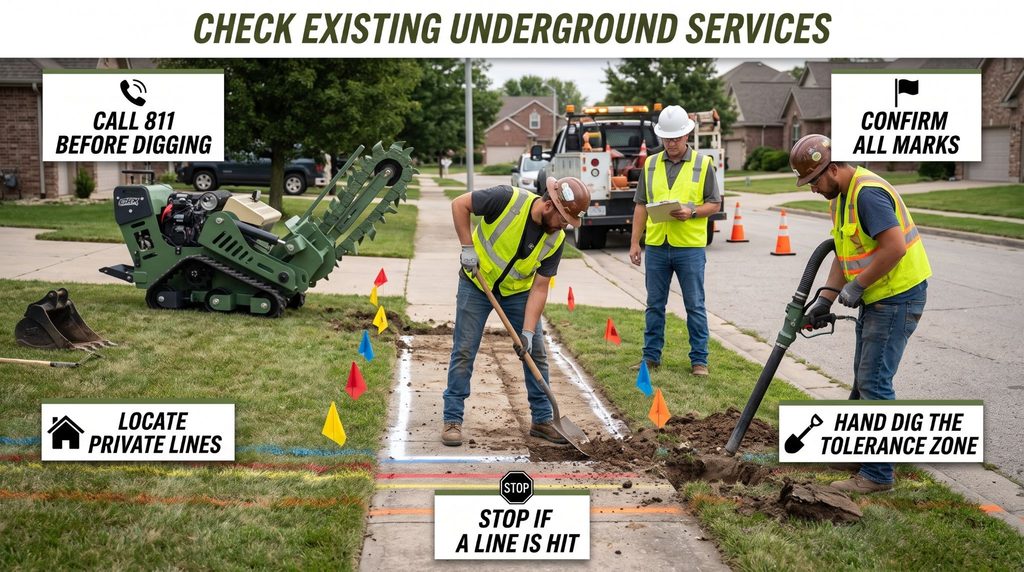
Contact your local utility notification center before any digging. In the United States, call 811 or submit an online request within the advance notice period your state requires. Wait for all utilities to respond and mark their lines, and confirm that every expected service has been marked. Keep in mind that public locate services usually don’t mark private lines, such as irrigation systems, private electrical feeds, or service lines past the meter. For those, use a private locating service or the property owner’s records.
Respect the tolerance zone around each mark. Many states define this zone as roughly 18 to 24 inches on either side of the marked line, though rules vary by location. Within that zone, expose the utility using hand digging or approved non-destructive methods such as vacuum excavation before running a trencher nearby. Plan crossings so the trencher boom is lifted and the utility is exposed by hand. Keep marks visible throughout the project, and request a re-mark if they fade or are disturbed. Stop work immediately and notify the utility owner if you contact any buried line.
Key takeaway: Call 811 or your local notification center, confirm all marks, locate private lines separately, and expose utilities by hand within the tolerance zone.
Match Trench Width to the Installed Utility
Trench width affects installation quality, labor time, and material costs. The trench must leave room for the pipe, conduit, or cable, plus the bedding and working clearance the specification requires. Getting that width right is a balance between enough space and too much excavation.
A trench that is too narrow causes problems. Crews struggle to place and align pipes, bedding can’t be placed or compacted properly around the sides, and fittings, couplings, and joints become difficult to assemble. Flexible pipe in particular depends on well-compacted material along its sides for support. Many specifications set a minimum width based on the pipe’s outside diameter plus a defined clearance on each side to allow proper compaction.
A trench that is too wide wastes time and money. Every extra inch of width adds excavated soil, imported bedding, and backfill that must be placed and compacted. Over a long run, that volume adds up quickly. Wider trenches also disturb more turf, pavement, or landscaping, which increases restoration costs. Choose a trencher whose cutting width matches your most common installations. Chain trenchers typically accept different chain and tooth configurations, so confirm which widths are available for the machine you’re considering and how easily they can be changed.
Key takeaway: Match cutting width to the utility’s outside diameter, bedding, and compaction clearance, since trenches that are too narrow or too wide both add cost and risk.
Select Suitable Digging Depth
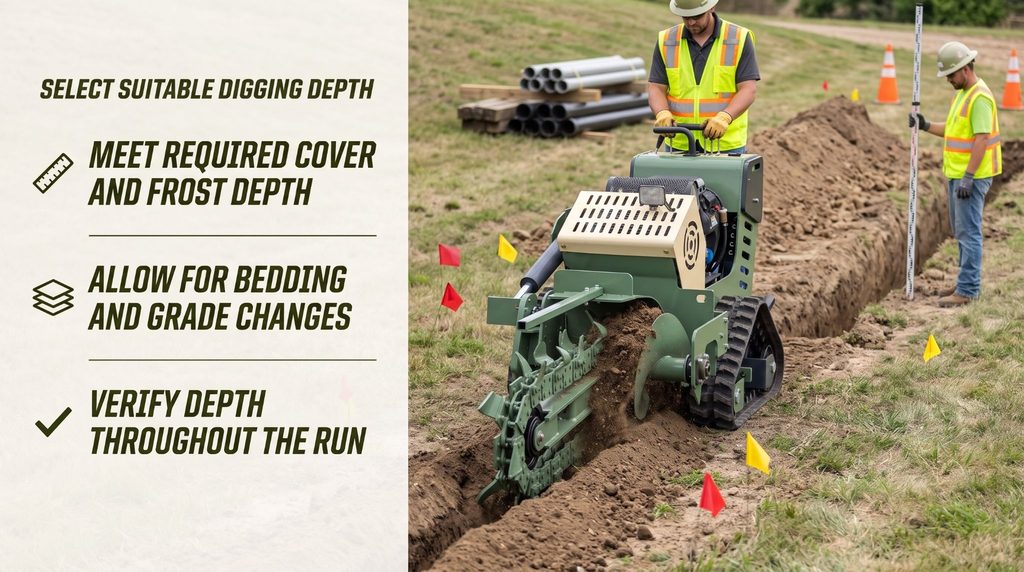
Depth is the dimension inspectors check most closely, and it’s the one most often missed. A trencher’s rated maximum depth is a useful starting point, but it doesn’t tell the whole story. Real conditions usually reduce the practical depth a machine can hold consistently across a full run.
Required depth depends on utility type, local codes, frost depth, ground conditions, and protection needs. Lines under driveways, roads, and parking areas may need greater cover or added protection than lines under lawns. Remember to account for bedding below the pipe, since the trench bottom must sit deeper than the pipe itself. Changes in surface grade along the route also affect depth. If the ground rises, the trench must cut deeper to maintain consistent cover.
Compare the trencher’s rated maximum depth with the deepest section your project requires, and leave a practical margin. Running a machine at its absolute limit for an entire job slows production and increases wear on the chain, teeth, and drive components. Boom angle, chain length, and ground conditions all affect achievable depth. Check depth often as you work, using a grade rod or measuring stick at regular intervals. Remember that trenches 5 feet deep or more generally require a protective system under OSHA rules, unless excavated entirely in stable rock, and trenches 4 feet deep or more require a safe means of exit.
Key takeaway: Choose a trencher that reaches your deepest required section with margin to spare, account for bedding and grade changes, and verify depth throughout the run.
Consider Soil and Ground Conditions
The same trencher that cuts quickly through sandy loam may struggle in compacted clay or rocky ground. Soil conditions affect cutting speed, trench consistency, wall stability, and wear on every part of the digging system. Understanding the ground before you mobilize prevents slow production and unexpected repair costs.
Soft, loose soils are easy to cut but may not hold vertical walls, especially when wet. Compacted clay demands more power and can pack into the chain. Gravel and cobble increase tooth wear and can cause the chain to jump or bind. Rock and hardpan may call for rock teeth, a heavier machine, or a different cutting method altogether. Moisture matters as well. Saturated ground can collapse into the trench, while frozen ground behaves much like rock.
Review the trencher’s chain type, tooth configuration, and available power for your expected conditions. Ask whether the machine can be fitted with combination or rock teeth, and how quickly worn teeth can be replaced in the field. When soil reports or test pits are available, use them to plan equipment choices. On unfamiliar sites, a short test cut tells you more than any specification sheet. Keep spare teeth on hand and inspect the chain, sprockets, and boom during every shift.
Key takeaway: Match chain, teeth, and machine power to the ground you expect, and use soil reports or test cuts to avoid slow production and premature wear.
Plan Spoil Removal and Backfilling
Trench dimensions determine how much material you remove, and every cubic yard has to go somewhere. Excavated soil also takes up more space after it’s loosened than it did in the ground. Planning spoil placement and backfill early keeps the site organized and prevents unnecessary rehandling.
Estimate spoil volume from trench length, width, and depth, and allow for swell. Choose storage locations that don’t block access, drainage, or equipment travel. Keep spoil and equipment at least 2 feet back from the trench edge, as OSHA requires in the United States, and farther when soil conditions or trench depth call for it. Spoil placed too close adds pressure to the trench wall and can fall back into the excavation. Many trenchers place spoil to one side with a crumber or auger, so plan which side of the route the material will land on.
Backfill only after the installation has been inspected and approved for covering. Remove rocks, roots, and debris that could damage pipe or conduit, and place bedding and initial backfill as the specifications require. Compact in lifts to the specified density, and install warning tape or tracer wire where required. Suitable excavated material may be reused when it meets project specifications. Separate topsoil early so it can be returned last to restore the surface. Pair the trencher with compact dumpers, tri loaders, or skid steers to move material efficiently without crossing open trench edges.
Key takeaway: Estimate spoil volume with swell in mind, keep material at least 2 feet from the edge, and backfill in compacted lifts only after inspection and approval.
Conclusion
Matching trencher width and depth to underground infrastructure projects starts with the specification. Confirm utility requirements, then choose a cutting width that allows proper bedding and compaction without excess excavation. Select a machine that reaches your deepest required section with margin, and match its chain and teeth to the ground conditions you expect. Locate every existing service before digging, and plan spoil handling and backfilling from the start.
Contractors who follow these steps produce accurate trenches, pass inspections the first time, and finish projects with less rework and lower material costs. Before your next project, list the depth, width, and bedding requirements for each utility, then compare them against the trencher’s documented cutting widths, rated depth, and tooth options. A hands-on demonstration in representative soil will confirm whether the machine can deliver the trenches your work demands.
Frequently Asked Questions
How wide should a utility trench be?
Width depends on the utility, the pipe or conduit’s outside diameter, bedding requirements, and project specifications. The trench must allow proper placement and compaction around the line without excessive excavation.
Is maximum digging depth enough for selecting a trencher?
No. Rated maximum depth is a starting point. Consider bedding depth, grade changes, soil conditions, and the depth required across the full project, and choose a machine with practical margin.
Does soil type affect trencher selection?
Yes. Ground hardness, rocks, clay, and moisture affect cutting speed, trench stability, and chain and tooth wear. Match the chain, teeth, and machine power to your expected conditions.
Should underground utilities be located before trenching?
Yes. Contact 811 or your local notification center before digging, confirm all marks, locate private lines separately, and expose utilities by hand within the tolerance zone.