
How to Safely Flush & Change Mini Skid Steer Hydraulic Oil Without Damaging Pumps
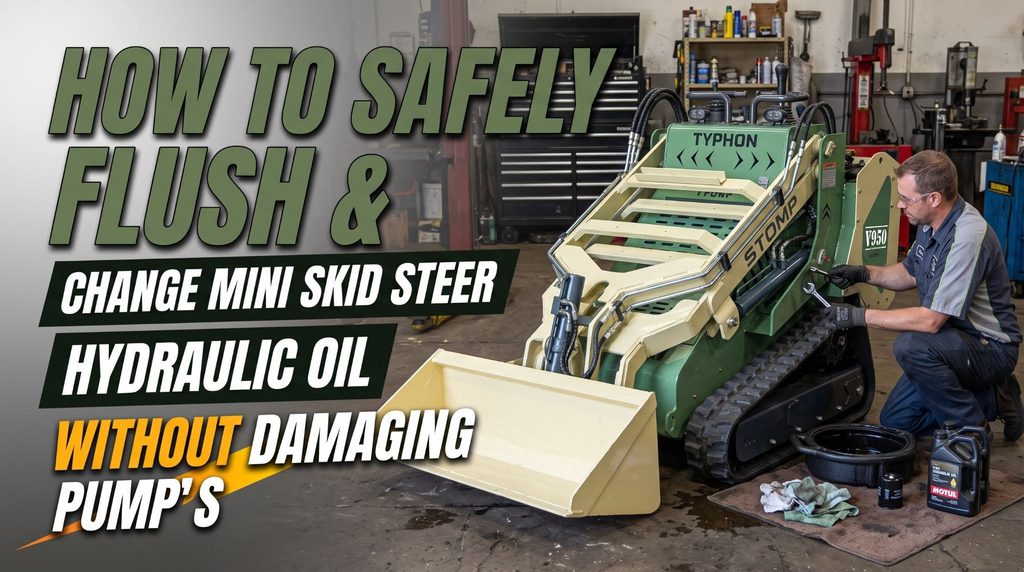
Hydraulic oil powers almost everything a mini skid steer does. It drives the travel motors that move the machine, the lift cylinders that raise the arms, the tilt cylinders that curl and dump the bucket, and the auxiliary circuit that runs augers, trenchers, and grapples. The same oil also lubricates the pump, carries heat away from hard-working components, and moves contaminants to the filters. It is both the machine’s power supply and its protection.
Clean, correctly specified oil gives you smooth, predictable control. Contaminated, degraded, or incorrect oil causes damage gradually and often without obvious warning. Fine dirt scores pump surfaces. Water weakens the lubricating film and promotes rust. Heat-damaged oil loses its protective additives. Oil with the wrong viscosity can starve the pump during a cold start or thin out under heavy attachment loads. The signs build over time: sluggish lift speed, rising temperatures, a whining pump, and eventually a failed component.
The pump is usually the most expensive part at risk. It needs a constant supply of clean oil at the right viscosity. Even a short run with a low reservoir, trapped air, or a restricted inlet can cause cavitation, which damages internal surfaces in a matter of minutes. Ironically, the oil change meant to protect the pump is one of the times it faces the most risk.
Preparing the Machine for Service
Hydraulic systems can retain pressure after the engine stops. Raised arms, hot oil, and pressurized lines can cause serious injuries during maintenance, so prepare the machine carefully before opening the system.
Park on firm, level ground, lower the lift arms and attachment, shut down the engine, remove the key, and secure the machine against movement. Follow your workplace’s lockout and tagout procedure. If the arms must remain raised, install the manufacturer’s approved support before working near or beneath them. Never rely on hydraulic pressure alone to hold raised equipment.
Allow hot components and oil to cool to a safe temperature, then relieve stored pressure using the procedure specified in the manual. Clean the area around the fill cap, drain point, breather, and filter housings before opening anything. Prepare the correct oil, replacement filters, seals, collection containers, and clean tools. Wear safety glasses, oil-resistant gloves, and protective clothing, and never use your hands to locate hydraulic leaks.
Key takeaway: Secure the machine, support raised equipment correctly, cool the oil, relieve pressure using the approved method, and clean all service areas before opening the system.
Identifying the Correct Hydraulic Oil
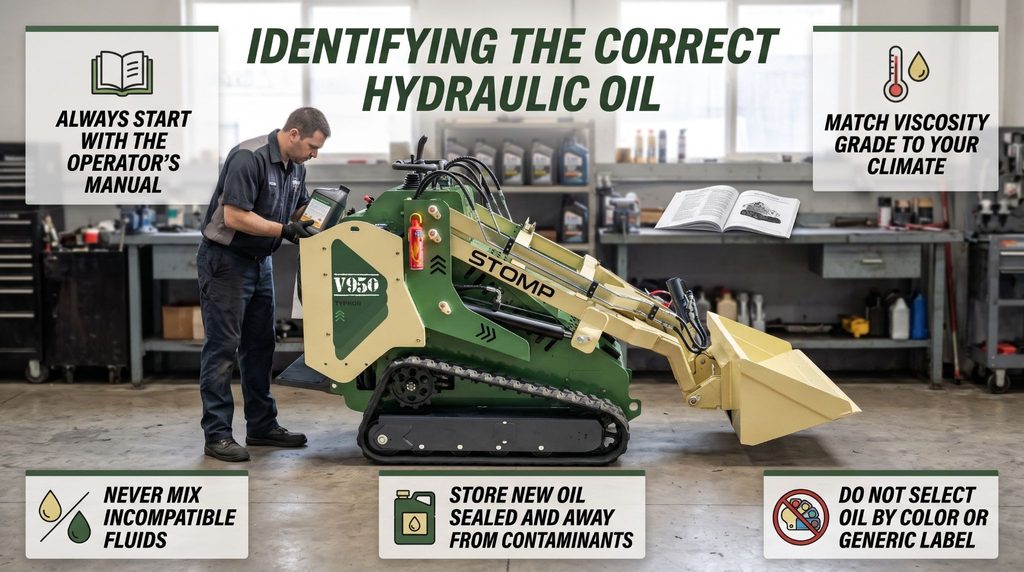
Hydraulic oil affects how well a machine operates, manages heat, protects seals, and reduces wear on internal components. Using the wrong fluid can damage the pump and other parts, so always identify the correct oil before starting maintenance.
Check the operator’s manual for the required oil type, viscosity grade, performance specifications, system capacity, and service interval. Requirements vary between machines, even when they are similar in size. Some mini skid steers share hydraulic oil with the hydrostatic drive, while others use separate reservoirs.
Viscosity must suit the machine and operating climate. Oil that is too thick may restrict flow during cold starts, while oil that is too thin may provide insufficient protection under heat and heavy loads. Never select oil by color or a general label, and do not mix different fluids unless the manufacturer confirms they are compatible. Keep new oil sealed and use clean, dedicated transfer equipment.
Key takeaway: Use the exact oil specification listed in the operator’s manual, consider operating temperatures, avoid unapproved fluid mixtures, and keep new oil clean.
Draining Used Hydraulic Oil
Removing old hydraulic oil helps clear out degraded fluid and suspended contaminants. A controlled draining process also allows you to inspect the oil for signs of contamination or internal component wear.
Use the designated drain plug or valve identified in the service manual. Position a clean container beneath the drain point and confirm that pressure has been relieved. Remove the fill cap or breather as directed to allow air into the reservoir, then open the drain slowly and let the oil flow into the container. Never loosen random hoses or fittings to remove additional oil because they may retain pressure or introduce contamination.
Observe the drained oil for unusual conditions. Milky fluid may indicate water contamination, a burnt smell can suggest overheating, and foam may indicate air entering the system. Metallic particles can signal internal wear. Inspect the drain plug and its magnet, if fitted, and replace seals as specified before tightening it to the manufacturer’s required torque. Store used oil in sealed containers and take it to an approved recycling or waste collection facility.
Key takeaway: Drain oil only through approved drain points, inspect it for contamination and metal particles, reinstall the drain plug correctly, and dispose of used oil responsibly.
Flushing the Hydraulic System
A routine oil change replaces the reservoir oil and scheduled filters, but some old fluid remains inside hoses, cylinders, motors, valves, and pumps. A system flush is a separate procedure intended to remove more extensive contamination from the hydraulic circuit.
Flushing may be necessary after water or dirt enters the system, incompatible oil is added, a hydraulic component fails and releases metal debris, or severe overheating damages the fluid. It is not automatically required for every routine oil change. Check the service manual or consult a qualified technician to determine whether flushing is necessary.
Follow only the manufacturer’s approved flushing procedure and use the specified fluid. Depending on the situation, the process may require repeated drain-and-fill cycles, reservoir cleaning, filter replacement, external filtration, or cleaning and replacing contaminated components. Never use diesel, kerosene, solvents, or degreasers as improvised flushing fluids because they can damage seals, reduce lubrication, and create fire hazards. Keep the reservoir at the required level whenever the pump is running.
Key takeaway: Flush only when contamination or component failure requires it, follow the approved procedure, use the specified fluid, and never operate the pump with insufficient oil.
Checking the System After Service
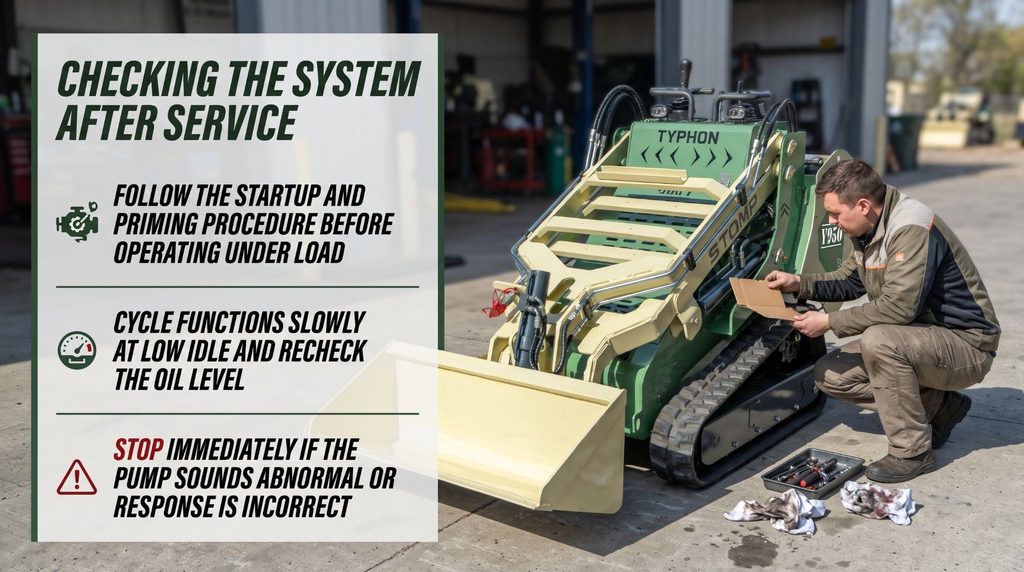
The first startup after an oil change is important because air may remain in the hydraulic lines, pump, and cylinders. Following the correct priming procedure helps protect the pump and confirms that the system is ready for normal operation.
Check the oil level before starting and complete any priming steps required by the service manual. Some machines require a specific procedure to fill the pump or circulate oil before operating under load. Start at low idle and allow the system to circulate as directed. Keep people and obstacles clear, remain in the operator’s seat, fasten the seat belt, and lower the restraint bar during testing.
Move the lift arms and attachment slowly through their operating ranges, then test travel and auxiliary functions as permitted by the manufacturer’s procedure. Stop and recheck the oil level after air has been purged. Inspect disturbed connections for leaks using cardboard rather than your hands, and watch for unusual pump noise, foaming, jerky movements, or rapid temperature increases. Shut down immediately if the system behaves abnormally, investigate the cause, and record the service date, operating hours, oil specification, quantity added, filters replaced, and any issues found.
Key takeaway: Prime the system correctly, test functions gradually at low idle, recheck the oil level, inspect for leaks, and stop immediately if abnormal noise or movement occurs.
Replacing Filters and Refilling
Clean filters help prevent contaminants from reaching the hydraulic pump and other sensitive components. Before servicing the system, identify every filter and strainer that requires inspection or replacement according to the maintenance schedule.
Different machines may use return filters, pressure or charge filters, suction strainers, and reservoir breather filters. Use the correct manufacturer-approved replacements because filters can differ in filtration rating, flow capacity, and bypass settings. Clean around each housing before opening it, inspect the old filter for metal particles, and ensure the old seal is removed. Lubricate the new seal with clean hydraulic oil and tighten the filter according to the manufacturer’s instructions.
Refill using the specified oil and clean, dedicated equipment. Add fluid slowly and check the level using the procedure in the manual, including the required machine position and oil temperature. Do not assume the amount drained equals the amount needed for refilling because some oil remains inside the system. Avoid overfilling, which can cause foaming or overflow, and underfilling, which can allow air to enter the pump. Secure the fill cap and clean up spills before proceeding.
Key takeaway: Install the correct filters, prevent contamination during replacement, refill with the specified oil, and check the level using the manufacturer’s recommended method.
Conclusion
Hydraulic oil service protects mini skid steer pumps and other components only when every step is done correctly. It begins with the right fluid, chosen from the operator’s manual rather than by appearance or habit. Careful preparation, including lowering the arms, locking out the machine, letting oil cool, and relieving stored pressure, protects technicians from burns, sudden movement, and fluid injection injuries. Draining through designated points keeps the process controlled, and reading the drained oil offers an early warning of hidden problems.
Flushing hydraulic fluid has a clear purpose, but it belongs in specific situations such as contamination, incorrect fluid, or component failure, and it must follow the manufacturer’s approved method. Correct filters, clean refilling, and accurate hydraulic fluid level checks set the system up for a healthy service interval. A disciplined startup and priming routine then protects the pump during its most vulnerable minutes.
Cleanliness and patience tie the entire process together. When you use the specified fluid, keep contamination out, and follow the manufacturer’s draining, flushing, and startup procedures, your mini skid steer rewards you with consistent power, dependable response, and long pump life on every job.
FAQs
Does every hydraulic oil change require a flush?
No. Routine oil replacement and system flushing are different procedures. A routine change replaces the reservoir oil and filters, and some old oil remaining in the circuit is normal. A flush removes old oil and contaminants from the whole system and is needed only when the manufacturer’s instructions or a contamination-related service plan calls for it, such as after water entry, a pump or motor failure, or filling with the wrong fluid. Always use the approved method and specified fluid, never diesel, kerosene, or solvents.
Can different hydraulic oils be mixed?
Do not mix fluids unless the manufacturer confirms they are compatible. Different oils use different base stocks and additives, and mixing them can cause foaming, sludge, additive breakdown, or seal damage. If an incompatible fluid has already been added, stop using the machine and contact your dealer or the manufacturer. The system may need to be drained and flushed using an approved procedure.
Why should hydraulic pressure be relieved before service?
Stored pressure can cause fluid injection injuries or unexpected component movement. Pressure can remain in cylinders, lines, auxiliary circuits, accumulators, and the reservoir after the engine is off. Oil escaping from a loosened fitting can penetrate the skin, and releasing pressure from a cylinder circuit can let a component drop or shift. Follow the manufacturer’s relief procedure, open the reservoir cap slowly, and always check for leaks with cardboard or wood rather than your hand.
What should happen if the pump makes unusual noise after an oil change?
Stop the machine and follow the troubleshooting procedure. Do not continue operating a pump that may be starved of oil or improperly primed. Whining, screeching, or knocking usually points to cavitation or aeration caused by a low oil level, a suction-side air leak, an incorrect or poorly seated filter, the wrong viscosity, or incomplete priming. Shut down, relieve pressure, check the level and connections, and repeat the priming procedure as directed. If the noise continues, contact your dealer or a qualified hydraulic technician before running the machine again.